自分用メモ記事
本記事はWindows版が対象です。
Zabbixはバージョン7.2.1から、Agent 2 によるNvidia GPUの監視に対応しました。
情報ソース

Zabbix 7.2の新機能
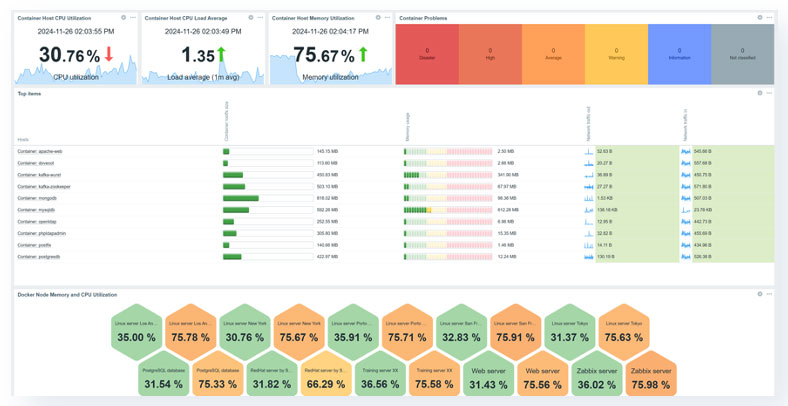
Zabbix 7.2 introduces new ways to visualize your data and host information, and improves upon various existing monitorin...

オープンソース監視ツール「Zabbix 7.2」リリース、NVIDIA GPUの監視機能を搭載予定
Zabbix Japan合同会社は11日、オープンソース監視ソフトウェア「Zabbix」の新版「Zabbix 7.2」を12月10日にリリースしたと発表した。
ですが、監視するためには設定が必要な様子。
フォーラムの書き込み

New nvidia monitoring -
ZABBIX Forums
Introduced with 7.2. Again with absolute lack of documentation.nothing here nothing at wiki.nice blog template tell us "...
設定方法
まずは、Zabbix Agent 2を監視したいマシンにインストール。

Download Zabbix agents
Download and install pre-compiled Zabbix agents
ここからエージェントをダウンロードできる…んですが罠が。
Nvidia GPU監視は、「プラグイン」を追加しないと対応しません。エージェントだけをインストールしても使えないということです。
なので、
Zabbix Cloud Images and Appliances
から、
・zabbix_agent2-7.2.3-windows-amd64-openssl.msi
のほかに、
・zabbix_agent2_plugins-7.2.3-windows-amd64.msi
もダウンロードが必要です。
直接リンク(記事執筆時最新版 v7.2.3)
zabbix_agent2-7.2.3-windows-amd64-openssl.msi
zabbix_agent2_plugins-7.2.3-windows-amd64.msi
これらをインストールすると、
C:\Program Files\Zabbix Agent 2
に、「zabbix-agent2-plugin-nvidia-gpu.exe」というexeファイルたちが現れます。これがプラグインです。
「zabbix_agent2.conf」を管理者権限付きのメモ帳で編集し、
Plugins.NVIDIA.System.Path=C:\Program Files\Zabbix Agent 2\zabbix-agent2-plugin-nvidia-gpu.exeと最後の行に追記。
保存してから「Zabbix Agent 2」サービスを再起動させます。
Zabbix Serverのホスト追加から、テンプレート「Nvidia by Zabbix agent 2」を選択。
これでアイテムが表示されます。


コメント